When it comes to photography aperture, the decision between a wide or narrow aperture can make all the difference in your final image. As photographer Ana Mireles explains, a small aperture, also known as a narrow aperture, is ideal for achieving maximum depth of field and sharpness in your shots. If you're randomly adjusting settings on your camera hoping for the best results, understanding how to use different apertures can help take your photography to the next level.
The light meter tells us whether we've reached the correct exposure for our shot, but taking creative control means knowing when to adjust our camera lens' diaphragm formed by blades that regulate how much light passes through it before reaching the camera sensor or image sensor. If your favourite subjects don't involve movement – like life, food or flowers – then a narrow aperture may be just what you need to create detailed and crisp images. But what about when you want to capture motion or get that beautiful bokeh effect? This is where using a wide (or large) aperture comes into play.
In this article you'll find practical examples explaining when to use wide vs narrow aperture photography – including downloadable f-stop charts – so you can start taking control of your camera's settings and capturing beautiful images every time. So let's start with a detailed explanation of what aperture is and how it works to help guide you towards making informed decisions about your photography techniques.
Related reading: Low Light
When to Use a Wide (Large) Aperture in Photography (+ Examples)
Let's talk about when to use a wider aperture in photography. A wider aperture, or larger opening in the lens, allows more light to enter the camera and creates a shallow depth of field. This is great for portraits, where you want to blur the background and make your subject stand out. It can also be used for artistic effects, such as creating bokeh (the blurry circles of light in the background) or emphasizing a specific part of an image. Some examples include close-up shots of flowers or food, where you want to highlight one particular element, or nighttime cityscapes where you want the lights to blur into colorful streaks.
Explore further: Create Fantastic Light Orb Images
1. To have a shallower depth of field
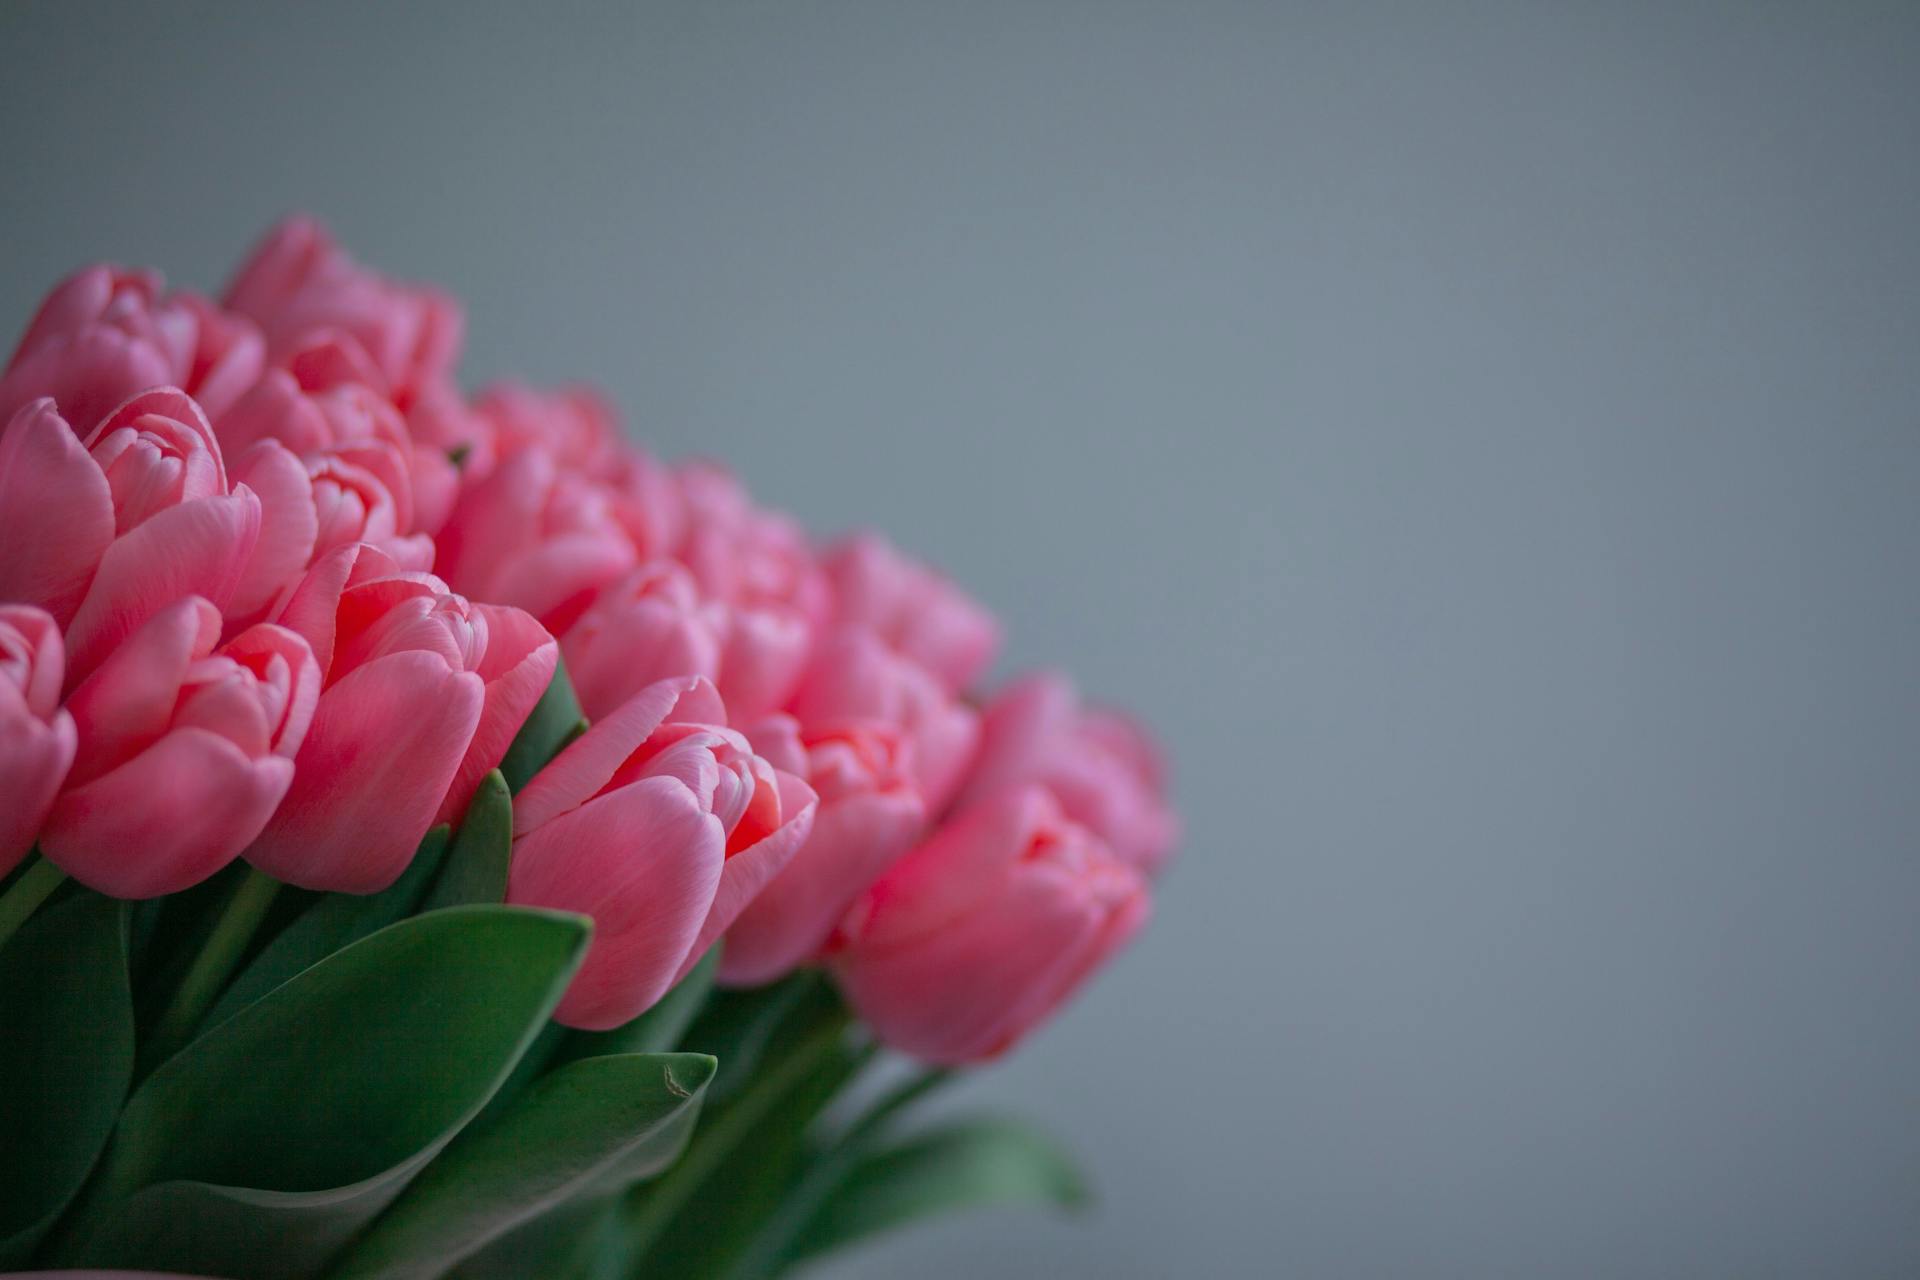
One of the most popular techniques in photography is achieving a shallow depth of field or shallow dof. This technique allows you to create depth in your photos by selectively focusing on a specific detail while blurring everything else in the background. To achieve this, you need to use a wide aperture and adjust the focal length you'll be using. By doing so, it will give you a narrow depth of field and make your subject stand out more.
Credit jeshootscom for illustrating how shallow depth works with small aperture. Using this technique can take your photos to the next level, making them look more professional and visually appealing. Whether it's photographing people, landscapes, or still life objects, incorporating shallow dof into your shots can create stunning results that will impress even the toughest critics. So next time you're planning to shoot something, try to experiment with different apertures and see how it affects your images.
If this caught your attention, see: Home Photography Idea Powerful Photos
How Can a Narrow Aperture Impact Your Photography?
Narrow aperture, also known as a small opening, can have a significant impact on your photography. It limits the amount of light entering the camera which affects the exposure and shutter speed. To capture a well-exposed image photographers may need to use a slower shutter speed or increase the ISO which can lead to noise. The term stopping down refers to using a narrow aperture while opening up means using a wider aperture. Understanding how aperture works and its effects on your images is essential for any photographer looking to improve their craft.
Expand your knowledge: Slow Shutter Speed
1. See our popular Summer Photography Tours & Workshops in Iceland
Narrow aperture combined with slow shutter speed captures stunning water photos and creates soft blurred effects in the background. Similarly, architecture photographers and street photographers can achieve sharp details in their subjects while still obtaining a similarly blurred background using narrow apertures. Night time is also a great opportunity to experiment with narrow apertures and slower shutter speeds to capture light trails and creative portraits.
In addition to creating starburst effects and interesting details in architecture photography, narrow aperture can also be used to blur backgrounds in scenic imagery. This ultimate guide to achieving beautiful bokeh will help you take your photography to the next level with experimental shots that make use of the unique qualities of narrow aperture. Whether you're looking for softy blurred skies or want to capture the ultimate water photo, there's no limit to what you can do with a little creativity and some knowledge of how to use narrow apertures effectively.
Related reading: Shutter Speed Sports
Enhance Your Photography: Mastering Camera Aperture
If you've made the decision to take your photography to the next level, understanding how aperture works is essential. Fortunately, adjusting your camera's aperture is simple and easy to do once you know how. The first step is to familiarize yourself with your camera's shooting modes.
In most cameras, shooting in aperture priority mode allows you to select a specific aperture value while the camera adjusts the shutter speed for proper exposure. To access this mode, locate the relevant camera dial and switch it from automatic to the specific dial marked "A" or "Av" depending on your camera model.
If you're struggling to find out how to adjust your camera's aperture, consult your camera manual or search online for tutorials specific to your camera model. Understanding and mastering camera aperture can make all the difference in taking stunning photographs that truly capture the essence of your subject.
Discover more: Iphone Camera
Discover the Ideal Aperture: A Guide for Perfect Shots
Are you tired of taking too-bright or too-dark shots? The solution is to discover the ideal aperture. In photography, aperture refers to the size of the opening inside your lens that lets in light. By adjusting your aperture settings, you can control the depth of field and impact your final shot.
In case you'll want a deep depth of field, which means keeping both foreground and background in focus, opt for a narrow aperture. This technique is commonly used in landscape or architectural photography. On the other hand, if you're aiming for a shallow depth of field with only one subject in focus and everything else blurred out, a wide aperture will do wonders. This method is widely used in portrait photography or nature close-ups.
The genres I'll cover here are just two examples among many possibilities where aperture plays an essential role in achieving perfect shots. Sometimes you'll need to balance between letting enough light through while still having control over the depth of field. Don't worry; it takes practice and experimentation to get it right. Once you master how to use your camera's aperture settings correctly, there won't be any more too-bright or too-dark shots in your portfolio!
You might like: Capture Perfect Panning Shots
1. The best landscape photography aperture
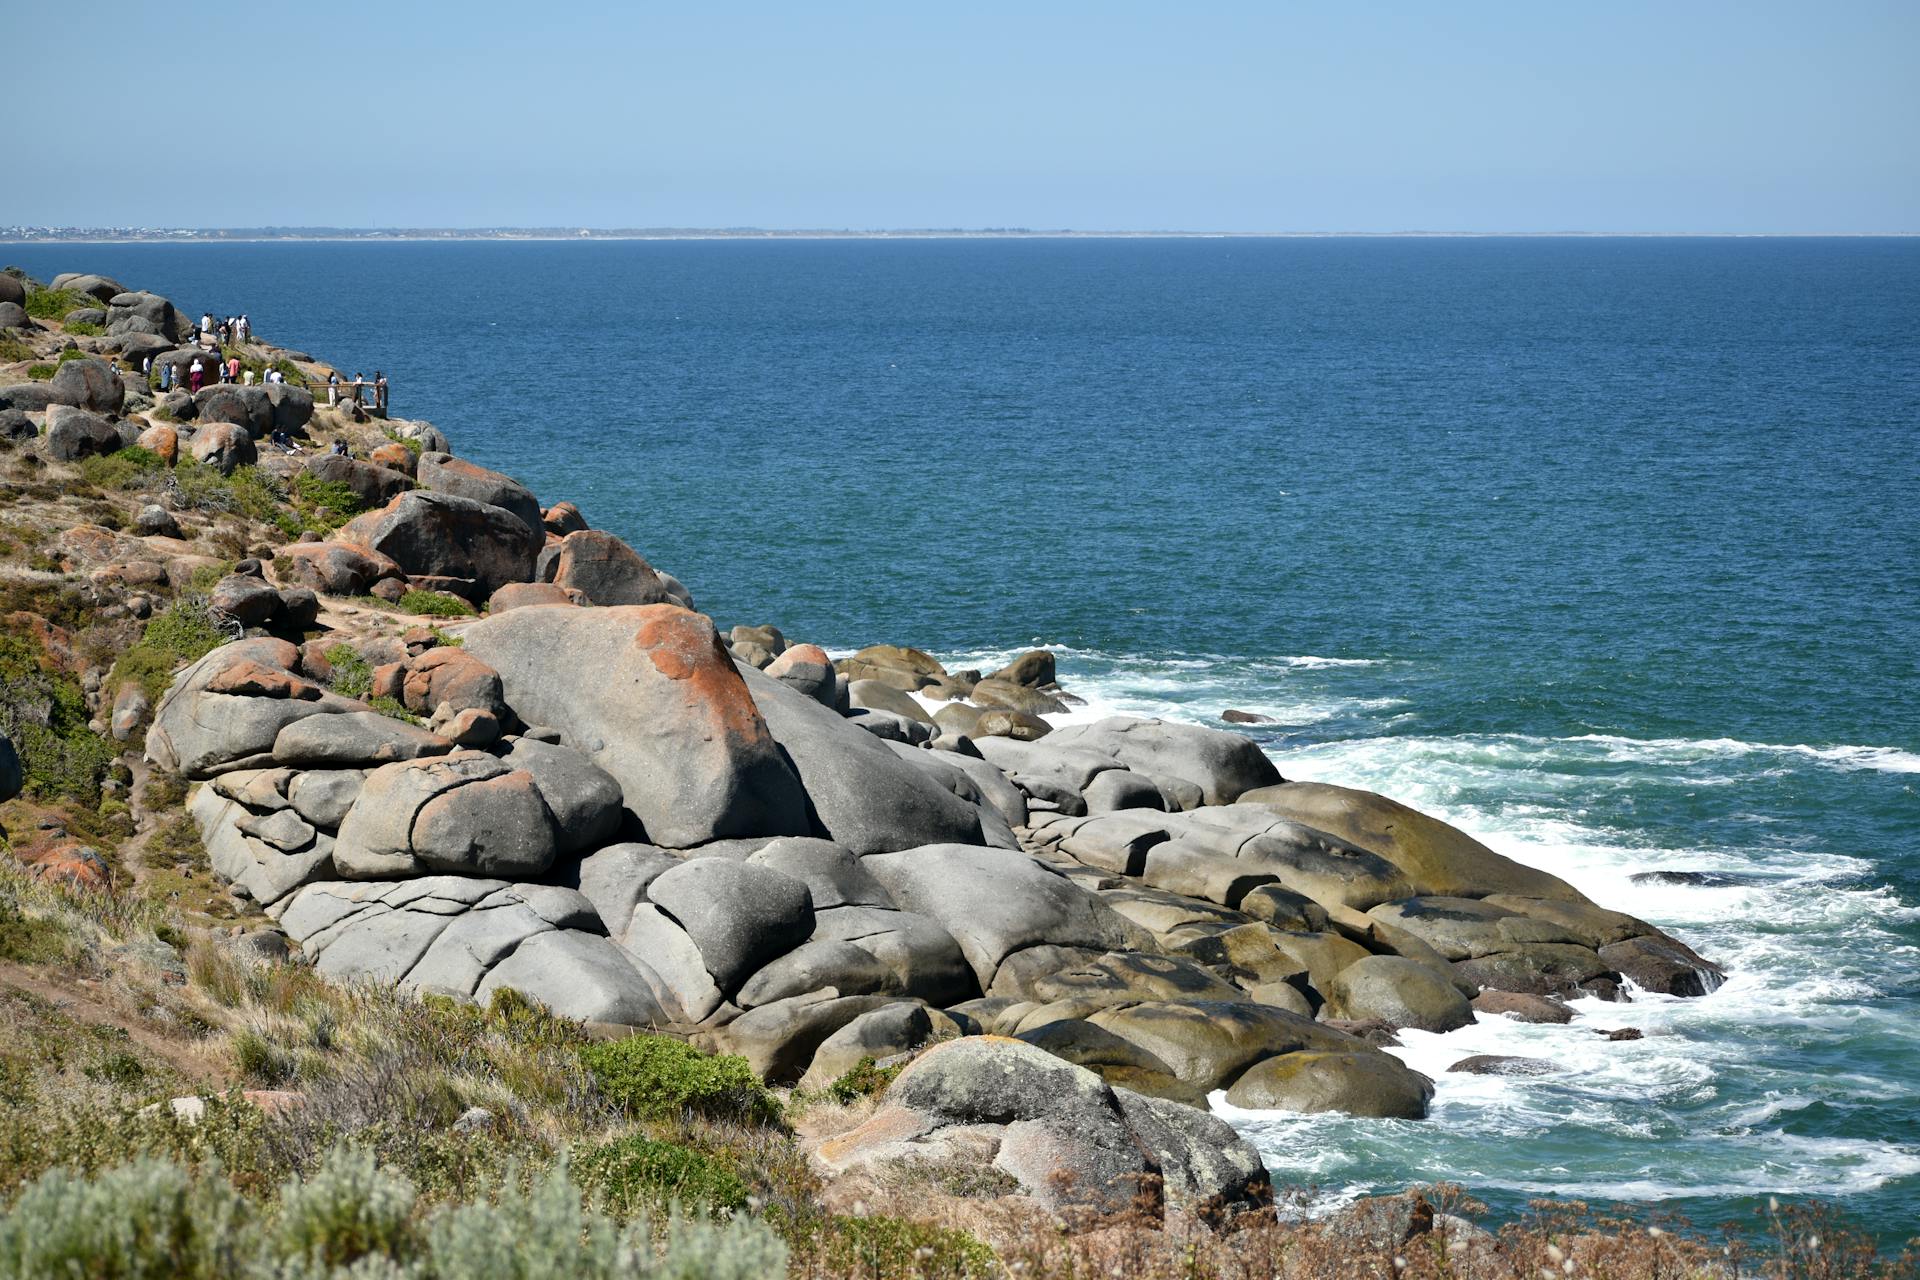
Landscape photographers gravitate towards small aperture settings when capturing sweeping photos of land and sea. The reason being that a deep depth of field makes everything in the shot sharp, from the foreground to the background. This is especially important when trying to capture a majestic scene that stretches out before you.
Using a small aperture can make a shot feel like you're physically stepping into the photo. It creates an immersive experience for the viewer that draws them in and allows them to appreciate all the details in the landscape. So, if you want your landscape photography to really pop, try using a small aperture setting next time you're out shooting.
2. The best portrait photography aperture
When it comes to portrait photography, choosing the right aperture can make all the difference in capturing an amazing shot. The best aperture for portrait photography depends on your desired outcome. A small aperture, or a higher f-stop number, is ideal for keeping both your subject and background in focus. This is perfect for family portrait photographers or headshot photographers who want their subject perfectly sharp while keeping the background nice and clear. However, if you're looking to create a shallow depth of field where the main subject stands out while the background doesn't distract, a large aperture with a lower f-stop number would be a better choice. This technique is often used by fashion photographers to produce stunning images that highlight their subjects' beauty and emotion.
Expand your knowledge: 10 Street Portrait Photography Tips
3. The best macro photography aperture
For macro photographers, choosing the right aperture is crucial. While narrow apertures may seem like an obvious choice, they can actually result in a shallow depth of field, making it difficult to capture the entire subject in focus at high magnifications. However, some macro photographers embrace this soft-focus effect and find that narrow apertures work well for their style.
On the other hand, wide apertures allow more light into the camera and can create a shallower depth of field, resulting in a blurrier background and emphasizing the subject. This approach works well for close-up photographers who want to draw attention to specific details in their subjects. Ultimately, it comes down to personal preference and experimentation - don't stress too much about finding the "perfect" macro photography aperture!
Worth a look: Canon Rf 100mm Macro Master
Understanding the Magic Behind Wide Aperture Photography
Have you ever wondered what makes a photograph stand out from the rest? The answer lies in the aperture size. Aperture refers to the opening in your camera lens that controls the amount of light that enters your camera. A large aperture, indicated by a small number such as f/1.8, allows more light into your camera than a small aperture, indicated by a larger number such as f/16.
Confusion appears when we naturally assume that a large aperture means a larger number. However, it's quite the opposite! A smaller number indicates a larger aperture and vice versa. So why does this matter? Well, when you use a wide aperture or wider aperture like f/1.8, you're able to create stunning images with beautiful bokeh (blurred background) and shallow depth of field. This is perfect for portrait photography where you want your subject in focus while the background is blurred out.
In conclusion, understanding how to use wide aperture photography can take your photos to the next level. By using a larger aperture or smaller number like f/1.8, you can create stunning images with beautiful bokeh and shallow depth of field which are perfect for portrait photography. So next time you're out shooting pictures with your camera, experiment with different apertures to see how they impact your photographs!
Here's an interesting read: How to Use Lightroom
1. See our popular Winter Photography Tours & Workshops in Iceland
If you're planning to go on a winter photography tour or workshop in Iceland, then it's important to understand the use of small aperture in your camera settings. Small aperture, also known as high f-stop numbers, is when your camera's lens opening is minimized to control the amount of light entering your camera.
Using small aperture can create stunning photographs with deeper depth of field and sharper details. This technique is ideal for capturing landscapes and cityscapes during winter where there's often an abundance of snow and ice that provides interesting textures and patterns. So, when you're booking your next winter photography tour or workshop in Iceland, don't forget to consider using small aperture in your camera settings to enhance the beauty and capture the essence of this magical season.
You might like: Fisheye Lens Camera Tips
Enhancing Your Photos: The Impact of Aperture on Your Shots
If you're not familiar with camera settings, aperture may be a term that you've heard before but never fully understood. In short, aperture refers to the opening in the lens through which light enters your camera. The size of this opening can be adjusted using your camera's settings and is measured in f-stops. One of the primary effects of adjusting your aperture is the amount of light that enters your camera. A small aperture reduces the amount of light that enters, while increasing depth of field.
In this article, I'll discuss one specific aspect of aperture - small aperture - and how it can enhance your photos. Small apertures are usually indicated by high f-stop values such as f/11 or f/16. Decreasing the size of your aperture will significantly reduce the amount of light entering the camera but will increase depth of field. This means that more objects in your photo will be in focus, creating a sharper image.
The impact that small apertures have on photographs is vital to understand for any budding photographer who wants to improve their craft. While there are many other factors that contribute to excellent photography, adjusting your camera's aperture can make a significant difference in achieving a well-captured image. So next time you're out shooting, try experimenting with different aperture values to see how they affect your shots!
For more insights, see: Ring Light
Frequently Asked Questions
What is the difference between narrow aperture and wide aperture?
A narrow aperture results in a smaller opening for light to enter, leading to a larger depth of field and sharper focus on distant objects. On the other hand, a wide aperture produces a larger opening for light, resulting in shallower depth of field and blurred background.
What is aperture on a camera?
Aperture is the opening in a camera lens through which light passes to enter the camera body. It controls the amount of light that enters and affects the depth of field in an image.
What is the minimum aperture of a lens?
The minimum aperture of a lens refers to the smallest opening through which light can pass. This is typically denoted by an f-stop number, with smaller numbers indicating larger apertures.
Why do macro photographers use a narrow aperture?
Macro photographers use a narrow aperture to increase the depth of field, resulting in a sharper and more detailed image of the subject.
What are the best aperture photography tips?
Some of the best aperture photography tips include understanding depth of field, using a wider aperture for portraits, and adjusting your aperture based on lighting conditions.
Featured Images: pexels.com


